Ecoflor® MicroConcrete Wall Application Procedure
Application Instructions for Ecoflor® MicroConcrete VertEcol Internal or External Vertical Surface Covering.
Purpose:
This guide is intended to provide basic instructions for the application of Ecoflor® MicroConcrete VertEcol to simulate a Concrete Wall, Tadelakt Lime or Venetian Plaster. A three-dimensional surface that reflects both the light and dark shades of the same colour. A trowelled method used on existing vertical surfaces on internal or external walls in commercial and residential buildings.
Introduction:
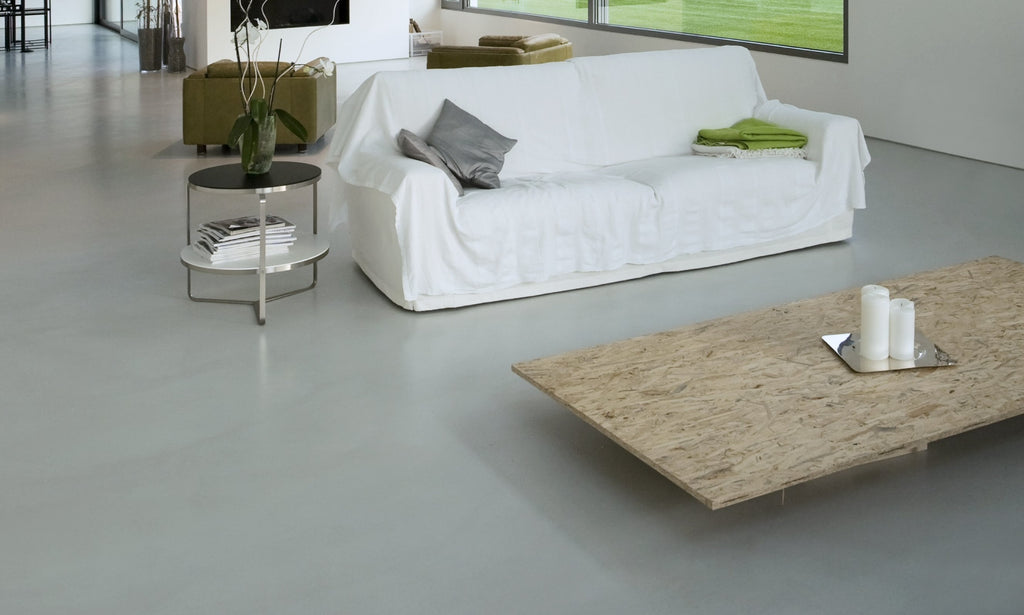
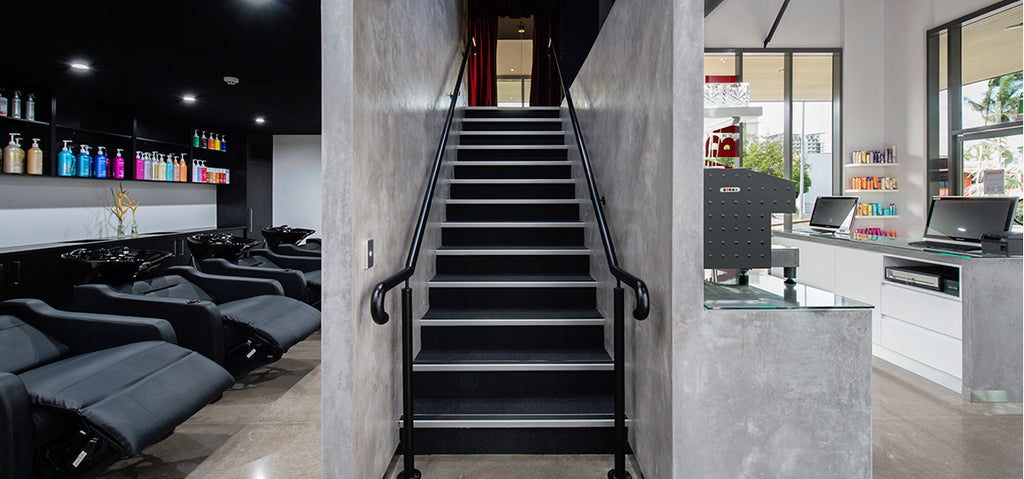
Ecoflor MicroConcrete VertEcol is a white micro-fine polishable premium blend of lime and cement render for trowel application on interior and exterior walls and vertical surfaces. Developed in Australia by Ecoflor® as an economical alternative to transform existing plain surfaces. The surface on which Ecoflor® MicroConcrete VertEcol is to be used must be structurally sound and should only be selected based on suitable conditions to provide an acceptable surface which will aid the serviceability of the resurfacing system during its design life.
Description – Resurfacing:
Ecoflor® MicroConcrete VertEcol coating system is applied on existing hardened surfaces. The cementitious based polymer modified lime cement blend, has been designed for absolute ease of application. A professional renderer or plasterer is not needed to install it, anyone good with a trowel or competent at DIYer could easily give it a go.
The most important thing to remember is that the surface to which you are going to apply the Ecoflor® VertEcol is PAINT READY
Assessment of Surface Condition:
The existing hardened surface (wall) should be structurally sound without unacceptable cracking or stepping between the panels and without obvious defects such as peeling paint or prior coatings, likely to affect serviceability or design life expectations of the Ecoflor® MicroConcrete Coating System. Existing foreign matter such as tile adhesives on walls or sealer compounds must be capable of being completely removed and the surface generally must be capable of being completely and thoroughly clean of contaminants before acceptance of the Ecoflor® MicroConcrete resurfacing method.
Treatment of Panel Joints:
You need to tape plasterboard or panel joints. Without applying joint tape, the joints between panels will be a weak spot during the MicroConcrete coating process, leading to cracking. It is important therefore to properly tape the joints, and fibre tape is an easy material to create a secure joint minimising any future movement. This should be finished with a Jointing Compound that is suitable for the panel type and done in accordance with Building Regulations. MicroConcrete will not crack however if the surface is not prepared properly, and existing cracks and joints are not correctly treated this can therefore lead to cracking.
Treatment of panel joints is necessary to be done properly and diligently beforehand.
Prior to coating the surface, we strongly recommend trialling your technique and getting familiar with the materials with a practice run. A piece of cement sheeting is perfect for this. Create the finish that you plan to achieve and practice until you can do it. Then go and coat your walls and have fun.
Basic Equipment Requirements for Ecoflor® MicroConcrete VertEcol Application:
High Torque Power Drill - geared for variable speed.Metal Paddle Stirrer - purpose made for mixing low viscosity cements.
Plastic Measuring Jugs and buckets – capacity from1 litre to 15 litres.
Trowels & Sponge/ cleaning brush
Orbital sander – Sanding Screens from 120 – 240 grits.
Dust Extraction – Suitable vacuum machines to attach to sanding equipment.
Paint Brushes and paint rollers – Microfibre nap roller and pad.
Safety PPE – Gloves, Dust Mask, Goggles and Work Boots.
Basic Consumable Requirements:
Quippy Tape - 48mm Multi-purpose Masking TapeMixing Buckets
Products:
Ecoflor® MicroConcrete VertEcol (the material is in a paper bag within the bucket, use the bucket to mix your products)
Ecoflor® Concrete Modifier
Ecoflor® Liquid Colour Dispersion 200ml

LET’S GET STARTED:
Step 1. Mask Adjacent Structures:
Dismantle internal doors and remove from the area, if applicable.
Apply 50mm painter’s grade masking tape along adjacent vertical surfaces eg. Architraves, skirting boards, kitchen joinery, slide door rails and horizontally on adjacent flooring. Ensure that masking is applied flat to the floor and pushed neatly into internal corners. Follow by applying 50mm cloth tape (high strength) directly over the top of the Painter’s grade masking tape. Cover and protect any other horizontal surfaces.
Step 2. Surface Preparation:
All surfaces must be clean, structurally sound and free of dust, moisture, oils and grease or other surface contaminants. Give the wall a good once over with sandpaper on a sanding block or orbital sander 60 - 80 grit. This will remove any of the old dry flaky paint and flatten any uneven surfaces on the wall. With a bucket of water, wash down the wall with a sponge, this will remove any leftover dust or old paint. For tiled surfaces, seek technical advice from Ecoflor.
Step 3. Applying The Adhesive Coat:
Use Ecoflor® Concrete Modifier neat (unmixed). Apply to the surface as though painting the wall with a brush or roller. Let it thoroughly dry.
Step 4. Mixing the Cement Powder with the Concrete Modifier & Liquid Colour Pigment:
1st mix the modifier with water 1:1 or 50/50
Mix ratio of water and modifier for 10kg of Ecoflor® MicroConcrete VertEcol 10kg - 1.8 litres of Water mixed with 1.8 litres of Ecoflor® Concrete Modifier. Mix the water and modifier and lightly blend.
Shake well your Liquid Colour Pigment and add to the water and modifier mix (Use 1 premeasured 200ml container per each 10kg bucket of Ecoflor® MicroConcrete VertEcol) You should now have a coloured liquid mix of 3.8L. You may add a little more water if desired.
Slowly add 10kg Ecoflor® MicroConcrete VertEcol powder (using your High Torque Power Drill with Metal Paddle Stirrer)
Continually blend the mix while adding the Ecoflor® MicroConcrete VertEcol powder until a creamy mix is achieved. Scrape the sides of the bucket to remove any unmixed dry powder. Mix consistency should achieve a state of flow that can be readily picked up with a sponge or spatula without dripping on to the floor. We recommend applying to one wall at a time, so mix enough for that wall using the ratios provided but not the whole 10kg bucket. Use about 380ml of your liquid which you have mixed (modifier, water & colour) per 1kg of powder, get a consistency that works well with your tools and environment. Each 1kg mix should cover around 1.5 m2.
Step 5. Applying the mixed VertEcol to the wall:
Wearing rubber gloves, pick up the mix with a sponge and apply to the wall in a circular motion. Immediately trowel over to compress and flatten. Apply the VertEcol with this method about 1.5m2 per 1kg per coat. Start in one corner and work towards the other side. It’s best to keep a wet edge (working quickly complete the whole wall in one go). Working with another person helps greatly. One applying the material with the sponge and the other trowelling. Do not stop to have a break during the application process.
Coverage should be around 1.5m2 per kilogram per coat of Micro Cement.
Do not apply the Micro Cement too thick as it may result in micro cracking of the surface once cured.
Step 6. Second Coat of VertEcol: WET ON WET METHOD Follow Step 4 and 5 as before.
The timing of this step is important. You will notice the first coat become lighter in colour. This is an indication that the surface is drying. Usually this takes 10 - 30 minutes. Once the first coat is dry to touch and well adhered to the substrate, you may commence applying the second coat of VertEcol (using the sponge method you used to apply the first coat). Do not allow to dry overnight with the WET ON WET METHOD so your 2 coats need to be applied the same day before the wall has had time to dry out.
Once the second coat has been applied and trowelled smooth, it may now be allowed to dry overnight and left with a raw matt finish.
Step 7. Burnishing is optional:
Polishing the second coat is optional. This is done by allowing the second coat to dry somewhat as before. Have a damp sponge or water filled spray bottle handy. Start trowelling the dried but moist second coat of VertEcol holding the trowel at around a 10-degree angle, lightly to start and increase trowel pressure as you go. If the surface is too dry and trowelling has no effect, use the sponge or spray bottle to moisten the surface. If the coat starts to tear off, then you are trowelling too early and give it more time to dry.
The more you trowel, the more you will polish the surface. By continuing to trowel in this way, you will start to burnish the surface. A nice, polished surface is all that is required. Also, the type of trowel will have an impact on the polishing process. Flexible steel or plastic trowels are advisable. A plastic trowel for the polishing stage will help to prevent blackened streaks on the surface, especially with the lighter colours. Allow to dry overnight.
Step 8. Sanding is recommended:
Sanding the cured VertEcol is recommended if it was not polished or burnished during the application stage this will improve the smoothness of the wall and mottling effect of the finished look. Use a sanding block by hand for smaller areas, or an orbital sander with (120 grit) and start sanding in a circular motion, lightly to start. Progressively increasing to (180 – 240 grit) to achieve the desired sheen.
The more you sand, the more two tone polished, colour movement and mottled effect will appear. Wipe the whole surface over with a dry cloth to remove any remaining dust prior to applying the clear seal coats.
Step 9. Applying The Clear Coat Sealer: NATURAL ENHANCER or ECOCOAT.
Read the Product Technical Data Sheet.
Materials Safe Handling Advice:
Concrete Services Group Pty Ltd provides Materials Safety Data Advice including recommended personal protection equipment (PPE) where required for products produced and/or marketed by Concrete Services Group Pty Ltd in compliance with Work Cover. This information is available with product purchases for reference to end-users.
Normal Maintenance Requirements:
Routine cleaning of the decorative surface including regular removal of spillages and general wiping clean with an ecofriendly cleaning solution is recommended to preserve decorative appearance.
Eco – Friendly
Remember to reuse buckets for other purposes or recycle appropriately.